

- Structured model development and review through git branches and pull requests
- dbt metadata (descriptions, foreign key constraints) surfaced automatically in Omni
- A safe development workflow where changes are staged, validated, and merged before going live
Requirements
Before you begin, make sure you have:- An existing database connection in Omni
- Organization Admin permissions in Omni (required for git settings)
- Connection Admin permissions for the target connection (required for dbt setup)
- An existing git repository in GitHub, GitLab, Bitbucket, or Azure DevOps
- Permissions in your git provider to add webhooks and deploy/SSH keys
- A dbt project with an accessible git repository
Set up the git integration
The git integration connects your Omni shared model to a git repository, enabling branch-based development and pull request workflows for model changes.Branch Mode is required to make changes to the shared model when the git integration is enabled. All model changes must be made on a branch.
Set up the dbt integration
The dbt integration connects your dbt project to an Omni database connection. Once connected, Omni syncs dbt metadata — including field descriptions, foreign key constraints, and dbt Semantic Layer definitions — into your model automatically.Development workflow
With git and dbt connected, all model development in Omni happens on branches. This keeps your shared model stable while changes are built, tested, and reviewed.
1
Open a branch
From the Omni model IDE, create a new branch. Give it a descriptive name that matches your work. If you’re making dbt changes in parallel, use the same branch name in both repositories to keep them in-sync.
2
Make your changes
On the branch, you can:
- Add or edit fields, dimensions, measures, and views in the model IDE
- Update topics and joins
- Build and edit workbooks and dashboards — these are automatically attached to your branch
3
Validate with the Content Validator
Before deploying, run the Content Validator to check whether your model changes break any existing content. The Content Validator surfaces broken field references across all workbooks and dashboards, and lets you find and replace broken references in bulk before deploying.When the validator reports no broken references, your branch is ready to deploy.
Deploy your changes
Once your branch passes validation, deploy it. The steps below depend on whether Require pull requests is enabled in your git settings. You set this during git integration setup and can change it at any time.With pull requests required (recommended)
1
Add your model changes to your branch in Omni
In the model IDE, click Add to branch to stage your in-progress model edits onto the current branch.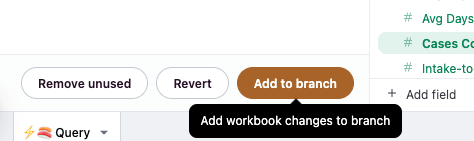
2
Open a pull request
In your git provider, open a pull request from your Omni branch into 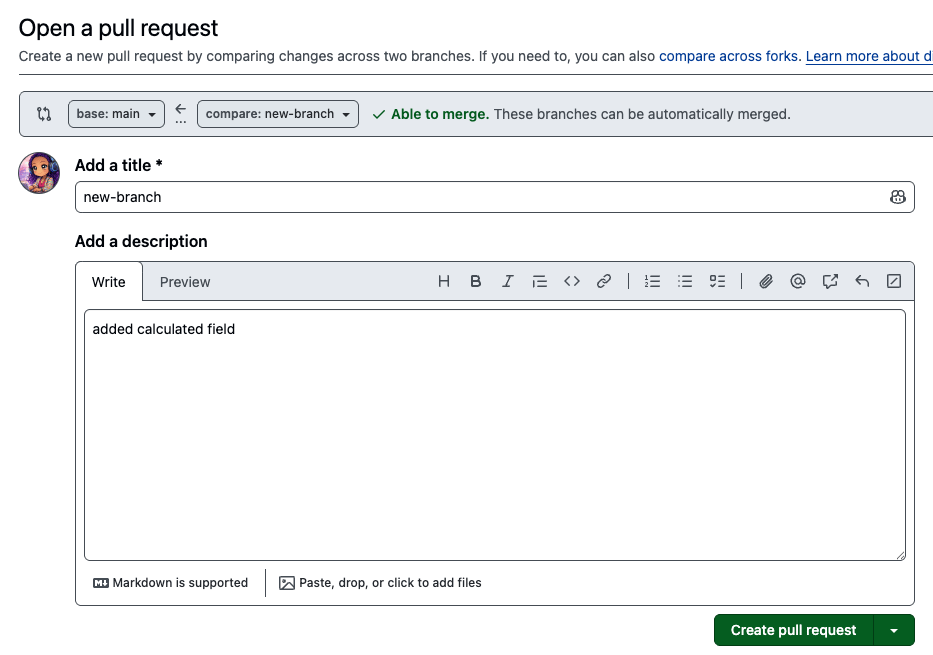
main (or your default branch).3
Have your changes reviewed and approved in git
Request a review from your team. The PR must be approved before it can be merged.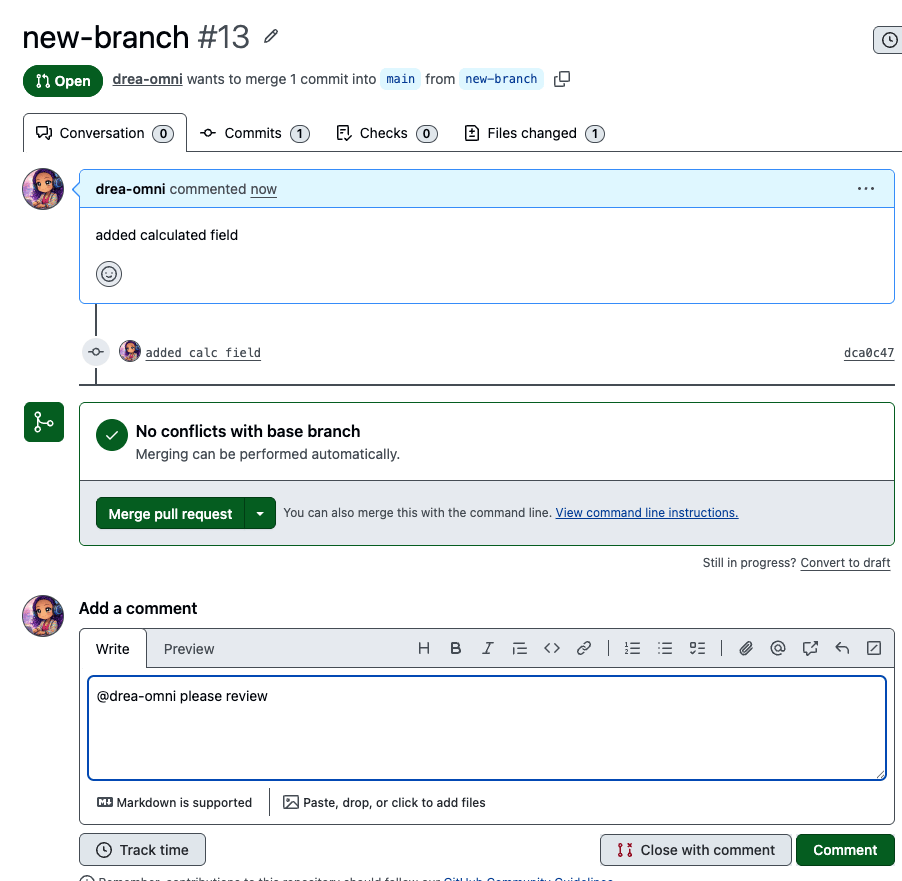
4
Merge the pull request and delete the branch
Merge the PR into 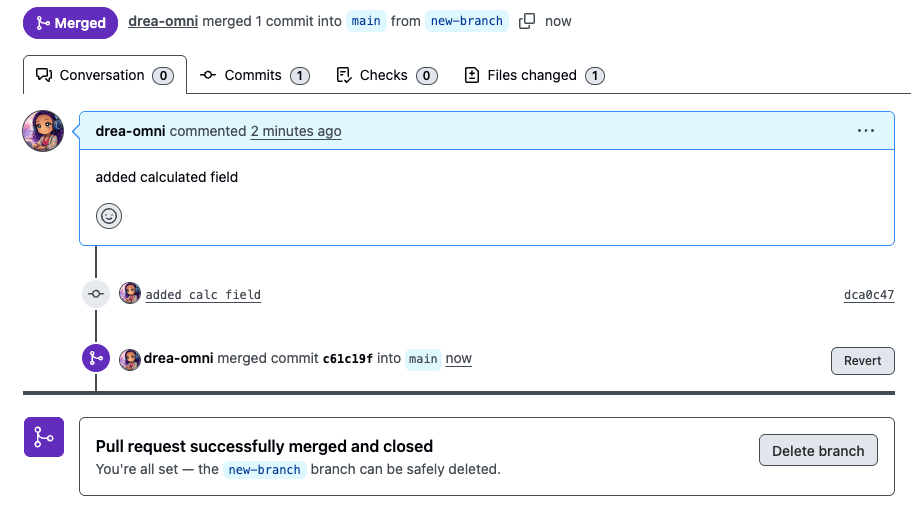
main and delete the branch. Merging promotes the model changes to the shared model and publishes any content attached to the branch.Without pull requests required
With Require pull requests disabled, you can stage and merge model changes directly from the IDE in two steps.1
Add your changes to the branch
With your branch open, click Add to branch to stage your changes.
2
Merge to the shared model
Click Merge to shared model. This promotes model changes and publishes attached content in one step.
- With your branch open, click Add to branch to stage your changes.
- Click Merge to shared model. This promotes model changes and publishes attached content in one step.
Best practices
- Working with dbt and Git — The full branch → schema refresh → validate → merge lifecycle for dbt and git
- git integration settings reference — Full reference for all git configuration options
- git integration best practices — Branch protection, monorepo setup, and more
- dbt integration overview — Feature overview including dbt Semantic Layer and dynamic schema switching
Next steps
- git integration settings reference — Full reference for all git configuration options
- git integration best practices — Branch protection, monorepo setup, and more
- dbt integration overview — Feature overview including dbt Semantic Layer and dynamic schema switching
- Branch Mode — How branching works for both model and content changes
- Content Validator — How to validate and repair content after model changes