

When to use this approach
- You have a single Omni instance
- You have separate PROD and DEV/STAGE databases (e.g.,
analytics_prodandanalytics_dev) - All developers are allowed to see both databases
- You don’t need true environment isolation between developers and production users
Requirements
Before you begin, make sure you have:- An existing database connection in Omni with dynamic connection environments configured
- The git integration set up for your Omni instance
- Organization Admin permissions in Omni (required for git settings)
- Connection Admin permissions in Omni
Development workflow
With git connected, all model development in Omni happens on branches. This keeps your shared model stable while changes are built, tested, and reviewed.
1
Open a branch
From the Omni model IDE, create a new branch. Give it a descriptive name that matches your work. If you’re making dbt changes in parallel, use the same branch name in both repositories to keep them in-sync.
2
Make your changes
On the branch, you can:
- Add or edit fields, dimensions, measures, and views in the model IDE
- Update topics and joins
- Build and edit workbooks and dashboards — these are automatically attached to your branch
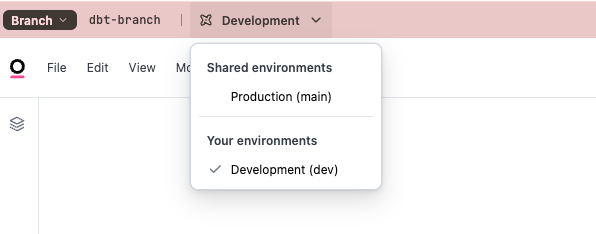
- With dynamic connections, switch the active connection environment from within the branch: when you create a branch, Omni shows an option to change the environment from the primary (production) connection to your non-production environment. Run and validate queries against non-production data before merging.
3
Validate with the Content Validator
Before deploying, run the Content Validator to check whether your model changes break any existing content. The Content Validator surfaces broken field references across all workbooks and dashboards and lets you find and replace them in bulk before deploying.When the validator reports no broken references, your branch is ready to deploy.
Deploy your changes
When your changes are ready, the deployment path depends on whether you’ve enabled Require pull requests in your git settings.With pull requests required (recommended)
1
Add changes to your branch
Click Add to branch to stage your shared model changes. Any changes not shared to the branch will remain in the workbook.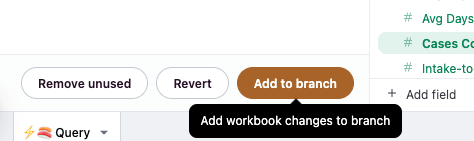
2
Confirm the impact
Review the staged changes in the branch summary and confirm they’re ready to promote. These changes affect everyone who accesses the shared model.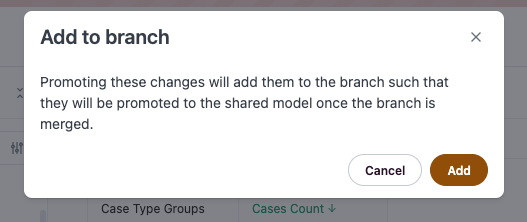
3
Open pull request
In your git provider, open a pull request targeting 
main (or your default branch).4
Add details to the pull request
Add notes to your pull request and assign reviewers in git as needed.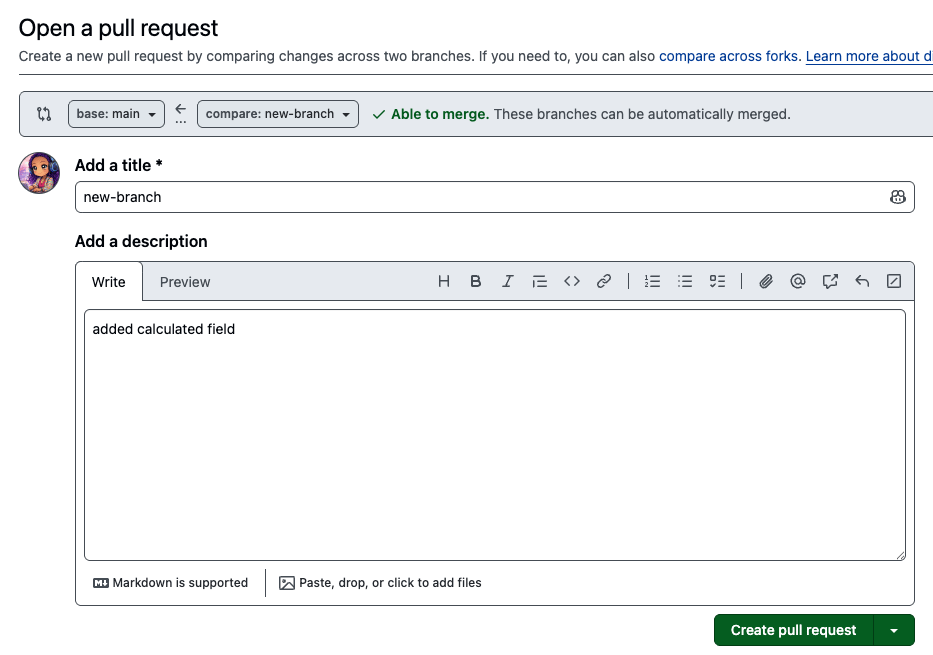
5
Pull request review
Have your changes reviewed and approved in git.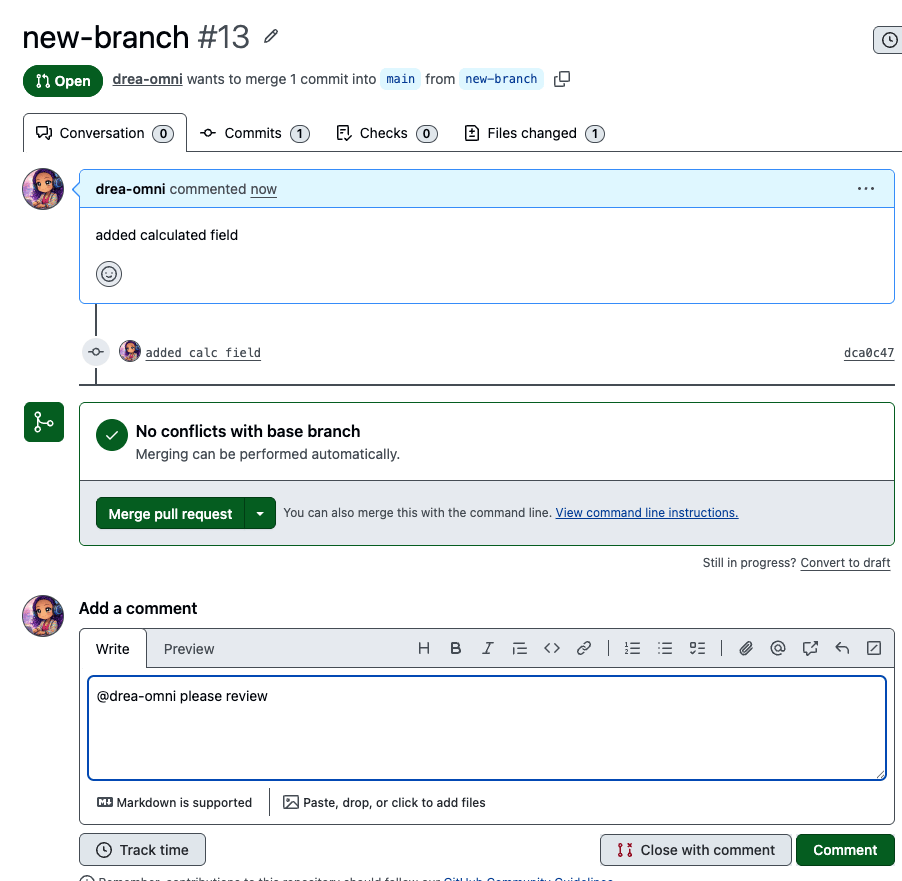
6
Merge the pull request
Merge the pull request and delete the branch (optional).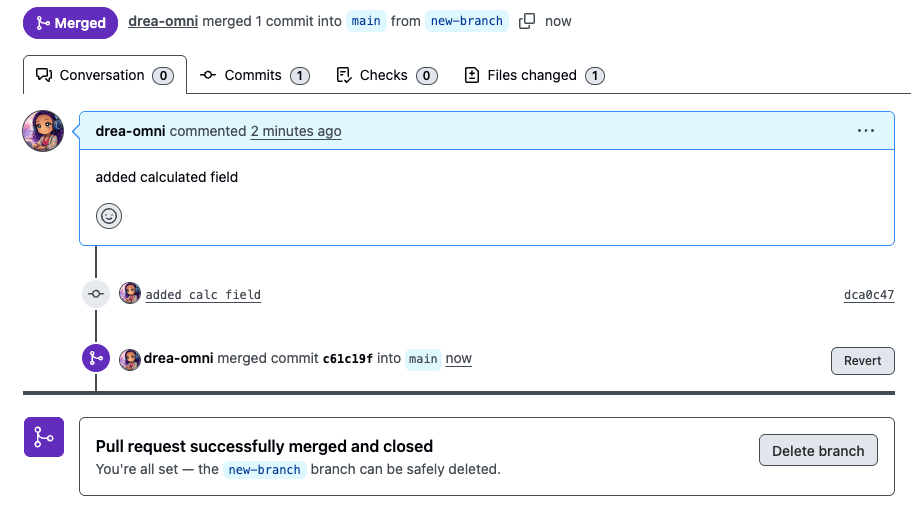
Without pull requests required
1
Add changes to your branch
Click Add to branch to stage your shared model changes.
2
Merge to the shared model
From the Omni model IDE, merge your branch directly to the shared model. This promotes model changes and publishes attached content in one step.
Next steps
- git integration settings reference — Full reference for all git configuration options
- git integration best practices — Branch protection, monorepo setup, and more
- dbt integration overview — Feature overview including dbt Semantic Layer and dynamic schema switching
- Branch Mode — How branching works for both model and content changes
- Content Validator — How to validate and repair content after model changes