Requirements
Creating and modifying dynamic filter controls requires Editor, Manager, or Owner permissions on the document.Creating dynamic filter controls
Create the control
- Open the dashboard in edit mode
- Click Add > Control > Dynamic Filter Control in the toolbar. The control editor panel will open on the right side of the page.
- Enter a Label and Description.
Define available fields
In the Available fields section, define how viewers will be able to interact with the filter:
- All fields - Viewers can filter on any field in the model. New fields become available automatically.
- Automatically populate filter fields - Include all fields from selected topics. Updates when selected topics are updated. When selected, you’ll be prompted to choose topics to include.
- Manually populate filter fields - Include only fields you select. When selected, you’ll be prompted to choose fields to include.
Select display options
This step is optional.
- Include view name in labels - By default, only field names are included in filter chips. Selecting this option will also include the name of the view containing the field. This is helpful for allowing viewers to distinguish between fields with the same name from different views.
- Hide this control when viewing the dashboard - Dashboard viewers will not see the control. However, the value can still be adjusted in scheduled deliveries and embedded links.
Using dynamic filter controls as a viewer
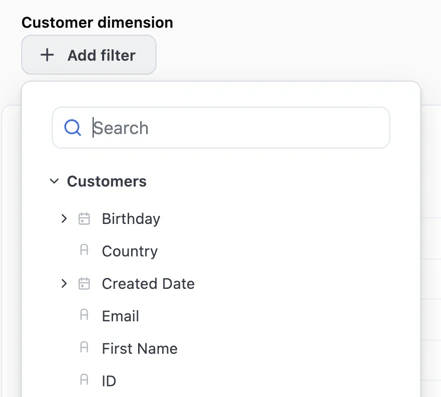
When a dashboard viewer opens a published dashboard, they’ll see an Add filter button: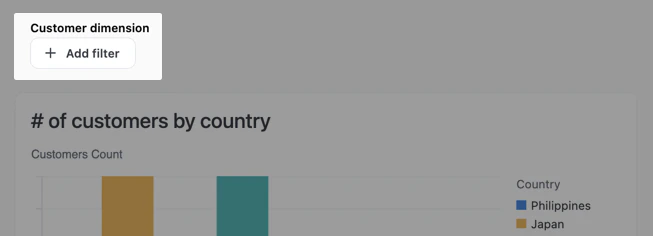
- Click Add filter on the dashboard.
- Select a field from the picker. The available fields are determined by the filter’s Available fields setting.
- Choose filter values.
Viewer-added filters aren’t saved to the dashboard.
Removing a filter
To remove a filter, hover over the filter and click the that displays:
Limitations
- Dynamic filters are stored in the URL only and cannot be saved to the dashboard
- Filters don’t apply to custom SQL queries unless they use dynamic filtering