Documentation Index
Fetch the complete documentation index at: https://docs.omni.co/llms.txt
Use this file to discover all available pages before exploring further.
How It Works
Omni’s model IDE maintains two independent branch controls to help you manage your development workflow:- Omni git branch: The branch of your Omni model, including field definitions and joins.
- dbt branch selector: Tells Omni which dbt branch’s manifest to read from when syncing metadata and resolving schemas.
Prerequisites
Before you begin, ensure you have the following:- A dbt integration configured on your connection.
- A dbt dev environment configured in Omni’s dbt settings.
- An Omni model branch created for development.
Step-by-Step Workflow
Follow these steps to preview your changes:- Run your dbt model in dev: Execute the model in your dbt development environment and confirm it completes successfully before proceeding.
- Commit your dbt changes: Uncommitted changes are not visible to Omni. Commit to your dbt branch before continuing.
- Create or switch to an Omni branch: In the model IDE, Navigate to Model > Branch > New branch (or switch to an existing branch).
- Activate the dbt dev environment: In the Omni model IDE, open the dbt settings panel and Select your dbt development environment (e.g.,
dev). - Set the dbt branch: In the same dbt settings panel, Enter the name of your dbt branch. This tells Omni to read the manifest from your feature branch rather than
main. This step is required for net-new models to appear.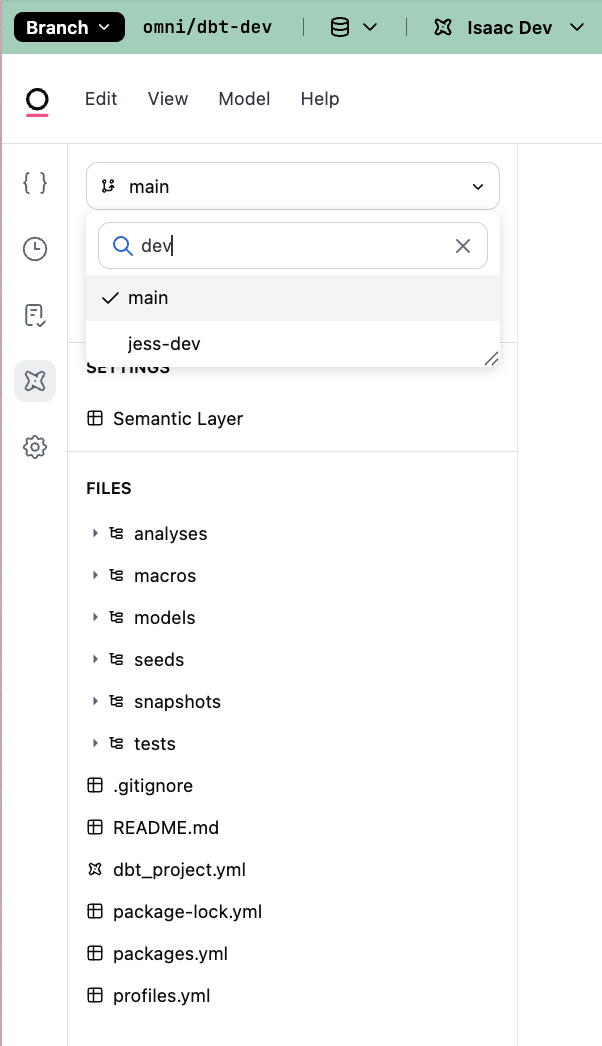
- Refresh the schema: Click Model > Refresh Schema. Omni will pull the updated manifest and table structures from your dev environment.
- Validate your changes: New tables and updated fields should now be visible in the IDE. Use the Content Validator to check for downstream impacts on existing dashboards.
- Merge when ready: Once validated, merge your dbt PR to
main, then merge your Omni branch to promote model changes to production.
New tables vs. field changes: Field changes to existing models may appear after a schema refresh without setting the dbt branch. However, net-new tables and views require the dbt branch to be explicitly set in step 5.
Next Steps
Now that you’ve validated your dbt changes, you can continue refining your data model:- Audit downstream content: Use the Content Validator to ensure your changes didn’t break existing documents.
- Merge to production: Once your dbt PR is merged to
main, update your Omni branch settings to point back to the production dbt branch and merge your Omni changes.