Requirements
To use the Dashboard Agent, you’ll need Restricted Querier, Querier, Modeler, or Connection Admin permissions for the model the dashboard is built on.Enabling the Dashboard Agent
Organization Admin permissions are required to modify AI & content permissions settings.
- Read data result in AI Hub > Setup. This allows the AI to read query results to perform tasks like data summarization, anomaly detection, and highlighting insights.
- The AI on dashboard document ability:
- To enable the Dashboard Agent globally, navigate to Settings > Content permissions and locate the Dashboard Agent document ability. This will enable the Dashboard Agent by default, but you can disable it on a document-by-document basis.
- To enable the Dashboard Agent on individual documents, navigate to File > Document Settings > AI on dashboard in the document
Using the Dashboard Agent
Opening the chat panel
Opening the chat panel
Once enabled, a floating avatar will appear on published dashboards. Click the avatar to open the Dashboard Agent in a split-view interface, where the chat appears side-by-side with your dashboard.The split-view layout allows you to interact with the Dashboard Agent while keeping the full dashboard visible, making it easy to reference charts and data as you chat.
When embedding a dashboard with
mode=SINGLE_CONTENT, the Dashboard Agent opens in an inline panel instead of split view. This keeps users scoped to the embedded content and prevents navigation away from the single-content frame.Opening the chat from edit mode
Opening the chat from edit mode
How you access the Dashboard Agent differs depending on whether you’re using an embedded Omni instance or not:
- Embedded - Click the icon in the left navigation
- Non-embedded Omni - Click the floating avatar to open the chat panel
Focusing on specific charts
Focusing on specific charts
You can scope the Dashboard Agent to specific charts by:
- Clicking a specific chart in the chat, or
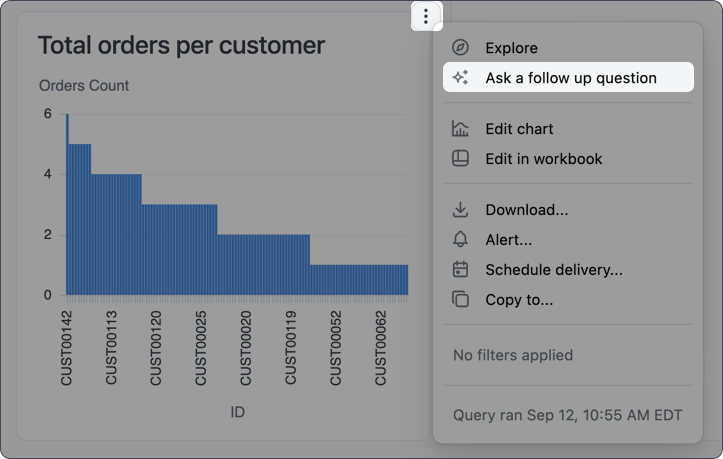
- Clicking on a tile’s (three dot icon) and selecting Ask a follow up question:
Unfocusing from specific charts
Unfocusing from specific charts
To unfocus the Dashboard Agent from a specific chart, click the X on the chart chip in the chat input. You can also close the chat panel entirely, though this will remove the chat history.
Attaching images
Attaching images
The Use Omni Agent > File uploads AI setting must be enabled to use this feature.
Cmd+V on Mac, Ctrl+V on Windows/Linux).The image appears as a file chip in the chat input, indicating it’s ready to be sent with your message.Getting help
If you’re stuck and can’t remember how to do something in Omni, ask the Omni Agent. Questions like “How do I do [thing]?” will prompt the agent to search the official Omni docs and provide you with an answer, all without leaving your Omni workflow. You can also directly tell the agent to search the docs when researching the answer to your question.Working in an embedded context? If you have the Hide Omni watermark setting enabled to provide a fully white-labeled experience, the AI doc search feature will respect it. Omni doc links will not be returned in chat, even if explicitly requested.