
Documentation Index

Fetch the complete documentation index at: https://docs.omni.co/llms.txt

Use this file to discover all available pages before exploring further.

Workbook queries can be saved as views, allowing you to quickly build and join subqueries to your analysis. This workflow allows you to do light transformations on data, which are then compiled as CTEs when queried.

Requirements

To create query views, you’ll need:
  • Querier, Modeler, or Connection Admin permissions
  • Connection Admin or Modeler permissions to promote the changes to the shared model

Creating query views

Start by building out a query in a workbook. Then:
1
Click Model > Save query as view.
2
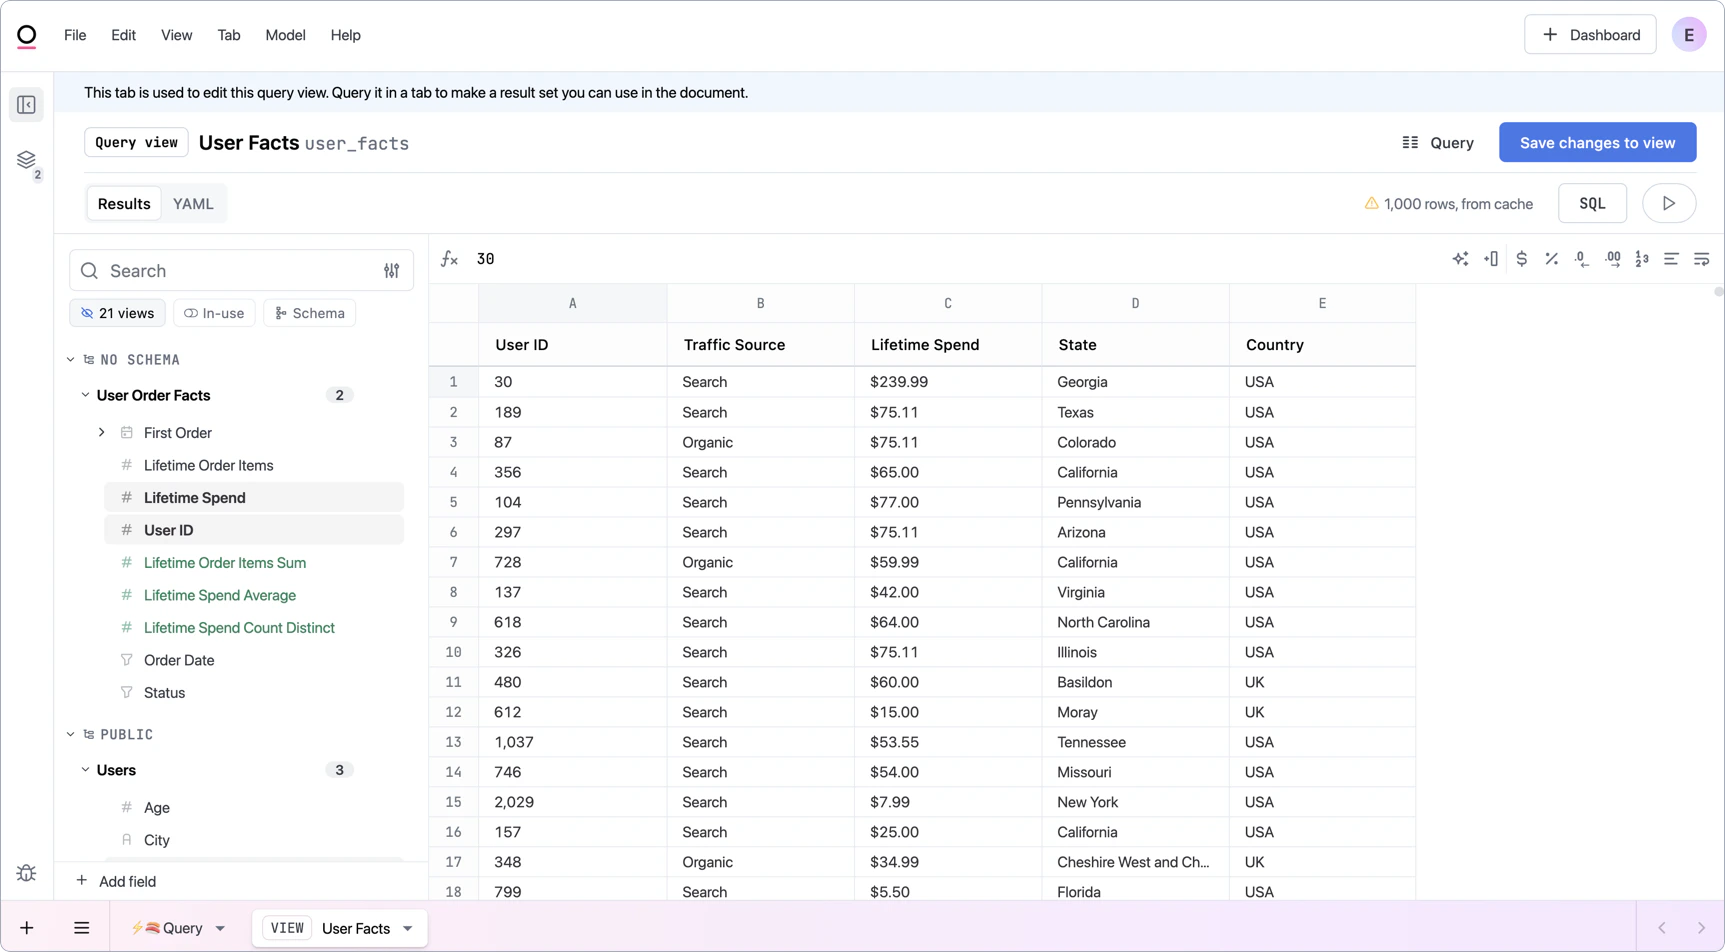
When prompted, enter a name for the view. Omni provides a smart default name:
  • For point-and-click (semantic) queries: {base_view_name}_facts (e.g., users_facts)
  • For raw SQL queries: sql_query_view_HH_MM (based on the current time)
If a view with the default name already exists, Omni automatically appends _2, _3, etc. to avoid name collisions. You can customize the name by editing the Name field.
3
Click Create query view.
A new View tab will open where you can edit the view itself. You can add or remove fields, add calculated fields, and add joins, just like you would with any other database view: Click the Save changes to view button to apply the changes to the view. This tab can be closed and you’ll still be able to use the view in other workbook queries.

Editing query views

See Editing query views.

Promoting query views

If you want the query view to be accessible in new and existing workbooks built on the underlying model, you’ll need to promote them. See Promoting changes to the shared model for more information.