Organization Admin permissions are required to manage user groups.
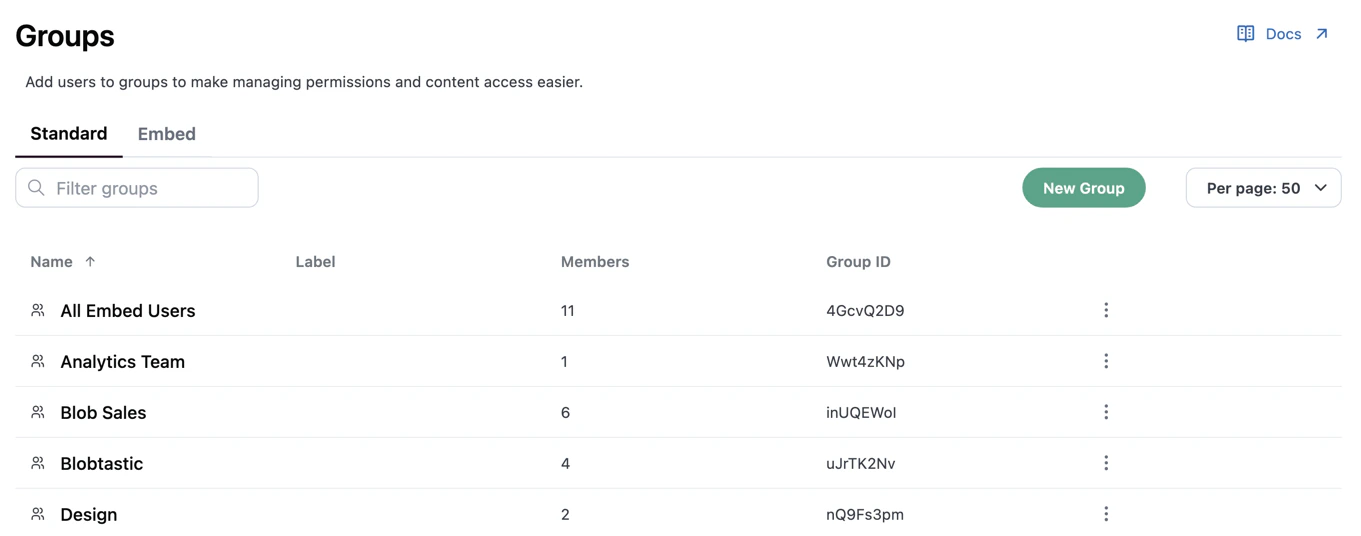
Settings > Groups page in Omni, listing all user groups
Creating user groups
- Navigate to Settings > Groups.
- Click New Group.
- Enter a Name for the group. You can also add a description.
- Click Save to create the group.
Managing group members
Users can be added to and removed from groups manually, through the API or some SCIM integrations.Adding users to groups
- Navigate to Settings > Groups.
- Click the group you want to work with.
- In the group’s Members tab, click Add Members.
- Search for and select users in the modal, then click Add.
Viewing a user’s group memberships
To view all the groups that a user is a member of, use the Groups tab in the user’s settings.Removing users from groups
When a user is removed from a group, they lose any permissions that were granted through that group. Users can be re-added as group members if needed.- Navigate to Settings > Groups.
- Click the group you want to work with.
- In the group’s Members tab, locate the user you want to remove.
- Click Remove from group.
Assigning permissions to groups
Access to connections, models, and content can be granted to an entire user group at once. Connection roles are assigned per-connection in the connection’s settings, while content access is granted by sharing documents and folders directly with the group.Assigning connection roles
- Navigate to Settings > Connections and open the connection you want to work with.
- Click the Permissions tab and scroll to Connection Roles.
- In the Groups view, locate the group you want to grant permissions to.
- Use the Access dropdown to change the group’s role. If custom roles are defined, they will display as options in the dropdown.
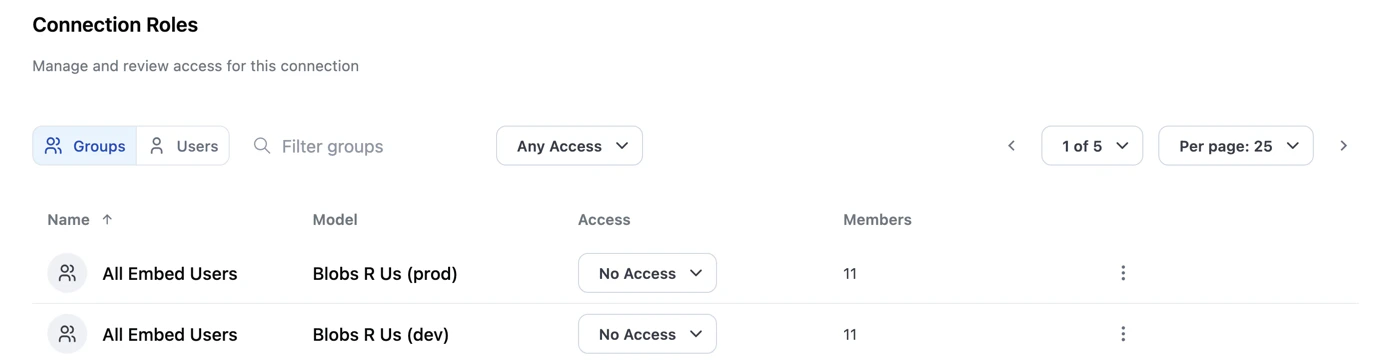
Connection Roles section showing the Groups view with access dropdowns for each group
Assigning content roles
To grant access to documents and folders, share the content with the group. See Content sharing for details.Deleting user groups
- Navigate to Settings > Groups.
- Click the icon in the user group’s row.
- When prompted, click Yes, Delete to confirm.
Next steps
- Custom roles - Define custom role variations to assign to groups
- Content sharing - Learn how to share documents and folders with users and groups
- Permissions - Understand how connection roles and permissions work