

Organization Admin permissions are required to manage email-only users.
Creating email-only users
Omni automatically creates an email-only user when an email delivery recipient has an email that can’t be matched to an existing Omni user. When the delivery is saved, Omni creates an account for the recipient to track delivery usage and related metadata. See Resolving delivery recipients by email for more information. Email-only users can also be created programmatically using the manage email-only user API or the bulk manage API. After a new email-only user is created, you should immediately set values for their user attributes.Email-only users aren’t counted toward any licenses.
Accessing email-only users in Omni
To view and manage email-only users, click Settings > Users and select the Email-Only tab. This tab only appears if there is at least one email-only user in your organization.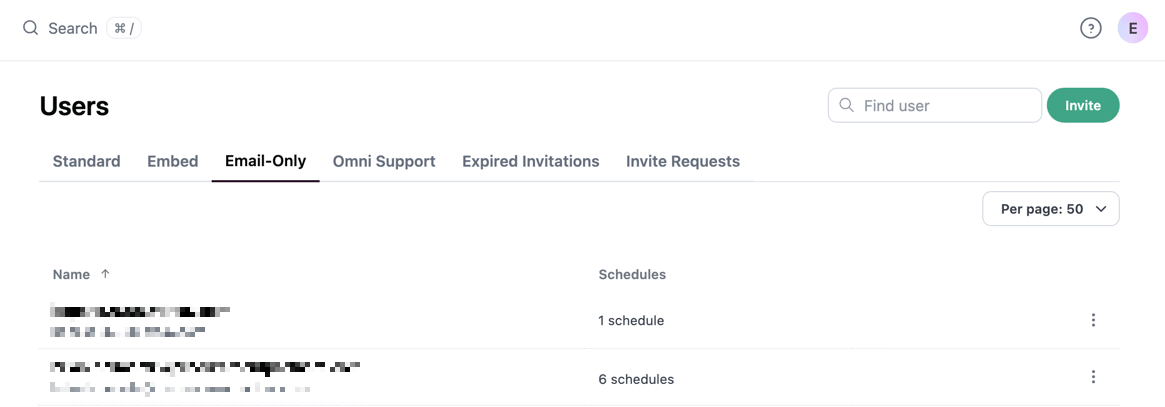
Inviting email-only users to your organization
Email-only users can be invited to join your organization as a Standard user. The user’s attributes will be retained, and they’ll remain recipients of schedules.- In the Settings > Users > Email-only tab, locate the user you want to work with.
- Click the in the same row as the user.
- Click Invite to Standard User.
Deleting email-only users
- In the Settings > Users > Email-only tab, locate the user you want to work with.
- Click the in the same row as the user.
- Click Remove Scheduler User.
Assigning user attributes
Email-only users can be assigned user attributes like any other user type. These attributes personalize the content they receive from email deliveries. For example, you could assign aregion attribute to each email-only user and deliver a dashboard that filters to only their region’s data.
- Omni UI
- API
The steps to assign attributes to email-only users are the same as for any other user. See Assigning attributes to users for more information.
Next steps
- Learn more about personalizing email deliveries with recipient attributes
- See what’s possible with user attributes
- Set up email deliveries