Requirements
Connection Admin permissions are required to modify connection settings.Specifying offloaded schemas
1
Open the connection details
- Navigate to Settings > Connections.
- Click a connection.
- Locate the Offloaded schemas setting in the connection settings.
2
Add the schemas
In the Offloaded schemas setting, use a comma-separated list to add the names of the schemas you want to offload. The values in this field:
- Can use wildcard syntax, for example
dbt_*. - Are case-sensitive, meaning the schema name you enter must exactly match the name of the schema in the database. For example,
blob_schemamust match ablob_schemain the database.
3
Save & apply the changes
- When finished, click Update and Test connection.
- Trigger a schema refresh to apply the changes to your Omni model.
4
Confirm the changes
While the changes may not be visible in the connection’s shared models, you can verify that the application was successful using the model IDE:
- Click Develop in the left navigation panel.
- Click one of the connection’s models to open it in the model IDE.
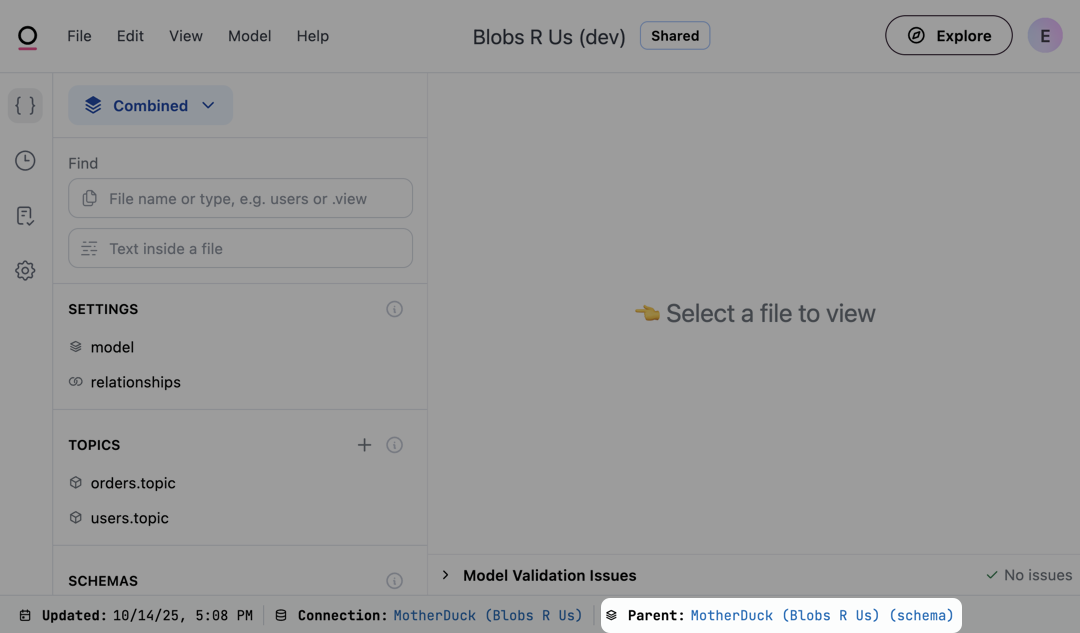
-
In the Shared layer of the model, click the link next to Parent at the bottom of the page. This opens the schema model.
-
In this view, change the Browse mode to Model by using the dropdown near the top left corner of the page:
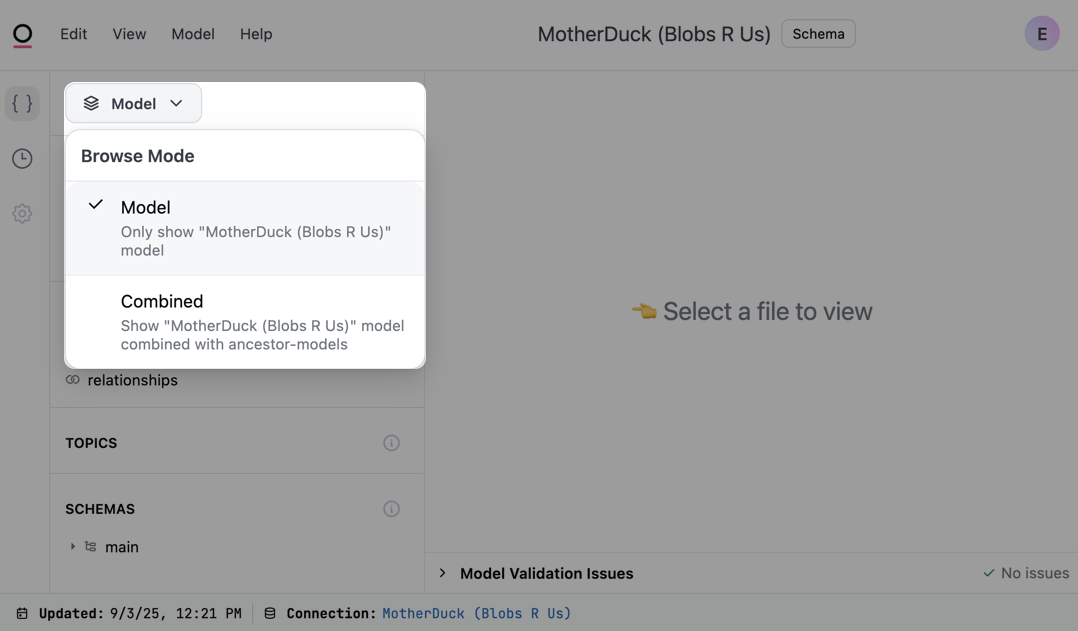
- The offloaded schemas should not be visible in the Schemas section.
Accessing offloaded schemas in workbooks
Offloaded schemas will display in the UI, but the tables and views they contain will display only when requested. Click an offloaded schema in a workbook or the model IDE and Omni will load its contents:
Loading an offloaded schema in the workbook field browser