Saving queries as views
Workbook queries can be saved as views, allowing you to quickly build and join subqueries to your analysis. This workflow allows you to do light transformations on data, which are then compiled as CTEs when queried.
Creating query views
Start by building out a query in a workbook. Then:
- Click Model > Save query as view.
- When prompted, enter a name for the view. For example,
user_facts - Click Create query view.
A new tab will open where you can edit the view itself. You can add or remove fields, add calculated fields, and add joins, just like you would with any other database view:

Click the Save changes to view button to apply the changes to the view. This tab can be closed and you'll still be able to use the view in other workbook queries.
Working with query views
After the view is saved, it will appear in the field browser and be queryable just like any other database view.
Editing query views
Query views can be edited in the workbook or the modeling IDE:
In the workbook
-
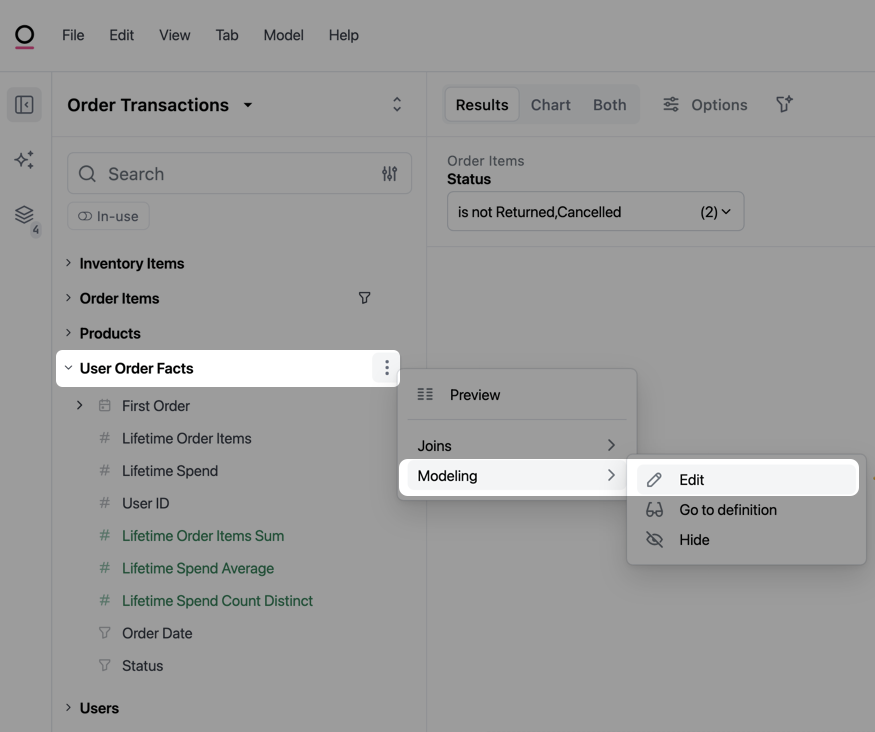
In a query, hover over the view in the field browser.
-
Click the ⠇ (three dots) next to the view name, then select Modeling > Edit:
-
A new tab will open in the workbook where you can edit the query view.
-
When finished making changes, click Save changes to view.
In the IDE
In the Files panel of the modeling IDE, locate the view in the Schemas section. Click the view to open it in the editor.
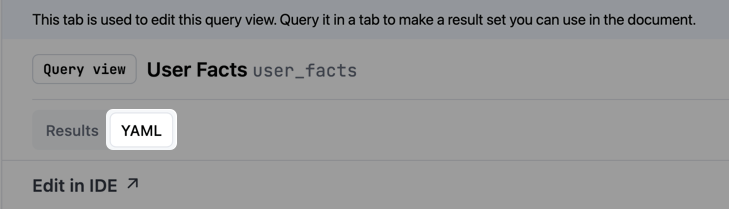
You can also view a read-only version of the query view's YAML configuration right in the workbook. Open the query view like you're going to edit it, then click the YAML toggle near the top left corner of the page:
Click the Edit in IDE link to open the query view in the modeling IDE. Refer to the Query view parameter reference for more information about the available parameters for query views.
Promoting query views
To promote the query view to the shared model, use the Model changes panel in the workbook.