Managing users

Managing users effectively is essential to maintaining security, collaboration, and productivity within your Omni organization. This guide covers how to add and remove users, assign roles and permissions, and ensure that the right team members have access to the right resources.

By the end of this guide, you'll understand how to manage your organization's users, tailor permissions to fit different needs, and keep your workspace organized and secure.

Inviting users

info

Organization Admin permissions are required to invite users.

If the New user invitations setting is enabled, users can request an invitation from your organization's login page.

Otherwise, you can manually invite new users:

  1. Navigate to Settings > Users.
  2. Click Invite.
  3. In the Email field, add the emails of the users you want to invite as a comma-separated list. For example:
    blobby@blobsrus.com,blob.ross@blobsrus.com
  4. Click Send invitations.

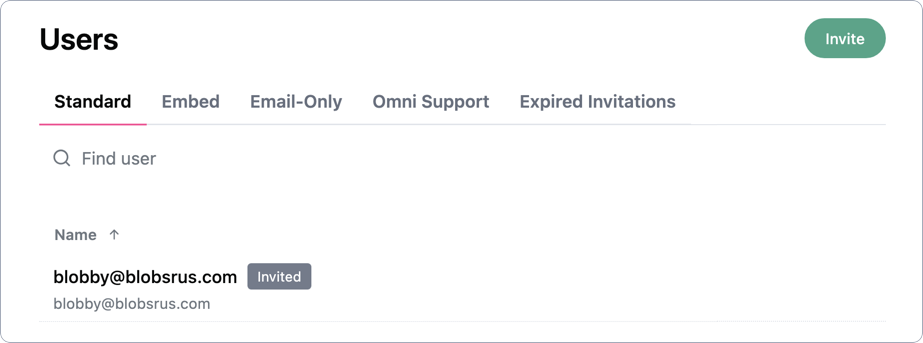
After the invitation is sent, the user will appear in the Users list with an Invited badge and you'll be able to assign permissions to the user:

Managing user settings

  1. Navigate to Settings > Users.
  2. In the user list, hover over the user you want to modify.
  3. Click the Manage button that appears.

On the user's profile page, you'll be able to assign permissions to the user and set the user's query timezone.

User permissions

info

Organization Admin permissions are required to modify a user's permissions.

At the user level, permissions are assigned using the Organization role and Connection access sections of the user's profile page:

  • Organization role controls the user's permissions to manage the organization. This includes the ability to invite and manage other users, manage database connections, and modify organization settings. Note: Organization Admins can't be provisioned using SCIM.
  • Connection access controls the access the user has to database connections and the ability to create/access content built on the connection, run queries, and develop models. Refer to the Managing connection permissions guide for more information.

Query timezone

The Query timezone setting defines the timezone used for query conversion, if user-specific timezones are enabled for a connection. Refer to the Timezone settings guide for more information.

User attributes

User attributes, managed in the user's Attributes tab, allow you to map user-specific variables to operations in Omni, such as querying, dashboards, and controlling data access. Refer to the User attributes guide for more information and examples.

Impersonating users

info

Organization Admin permissions are required to impersonate other users. Additionally, admins can't impersonate other admins.

The Impersonate user feature is useful for testing that access grants work as expected:

  1. Navigate to Settings > Users and click on a user. Note: If testing an access grant, the user must have a user attribute value that excludes them from the grant.
  2. At the bottom of the user's details page, click Impersonate user.
  3. Create a new workbook based on the connection you want to test. In this environment, you can verify what the user would and wouldn't have access to and adjust their permissions accordingly.

Deleting users

Proceed with caution

Revoking a user is not reversible. Read this section carefully before revoking a user's membership.

When a user's membership to your Omni instance is revoked, the following will occur:

  • Schedules created by the user will no longer run. The schedules must be re-created by another user to continue.
  • Content in the user's Personal folder will be accessible to Organization Admins through search.

Even if the user is re-added to your Omni instance with the same name and email, their previous history, permissions, content, etc. will not be associated with them. It will be as if they are a brand new user.

Before deletion

Before removing a user, you should:

  • Move any content in the user's Personal folder to a different location. Prior to being revoked, Organization Admins can impersonate the user to directly access this folder and move its content. You can also use the Analytics dashboard to identify the content the user owns, including that in their personal folder.
  • Re-create any necessary schedules created by the user. Schedules created by the user can be identified using the Settings > Deliveries page.

After deletion

Organization Admins can still find and access the user's Personal content using search or the Analytics dashboard after the user is removed. The Settings > Deliveries page will also list the user's schedules.