> ## Documentation Index
> Fetch the complete documentation index at: https://docs.omni.co/llms.txt
> Use this file to discover all available pages before exploring further.
# User groups
> Assign permissions to users in bulk with user groups.
**Organization Admin** permissions are required to manage user groups.
User groups let you manage permissions for multiple users at once instead of configuring each user individually.
 ## Creating user groups
User groups can also be created through the [API](/api/user-groups/create-user-group) and some [SCIM integrations](/administration/authentication).
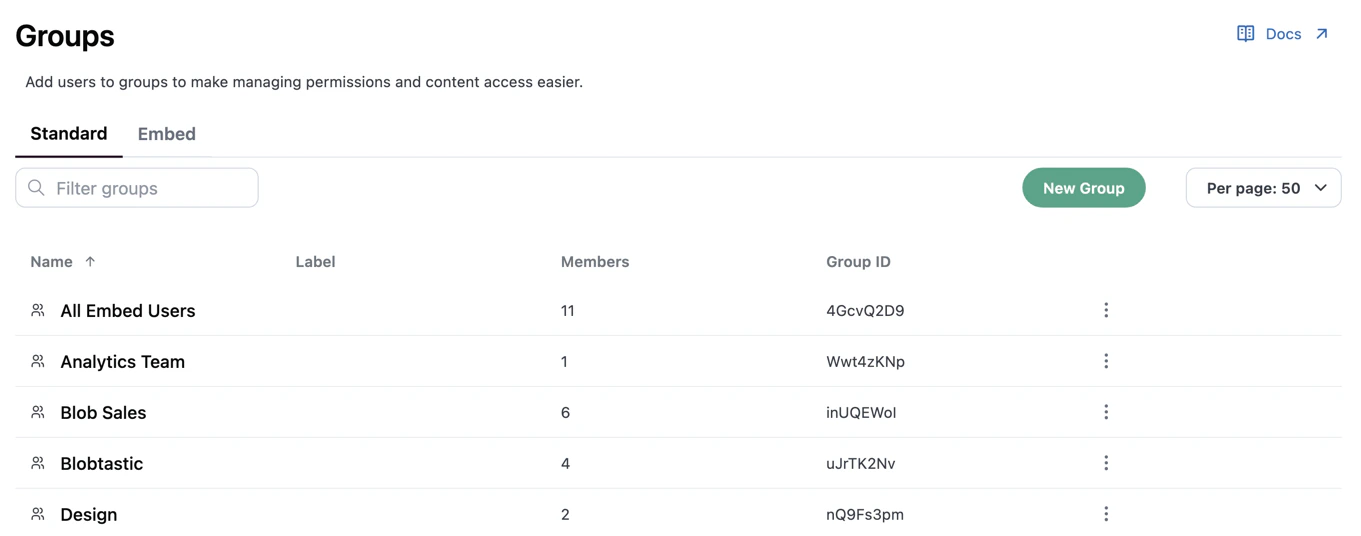
1. Navigate to **Settings > Groups**.
2. Click **New Group**.
3. Enter a **Name** for the group. You can also add a description.
4. Click **Save** to create the group.
After the group is created, you'll be redirected to the group's **Members** tab where you can [add users](#adding-users-to-groups).
## Managing group members
Users can be added to and removed from groups manually, through the [API](/api/user-groups) or some [SCIM integrations](/administration/authentication).
### Adding users to groups
A user's group membership is also available as the `omni_user_groups` [user attribute](/administration/users/attributes#default-system-user-attributes), which can be used for data-level permissioning.
1. Navigate to **Settings > Groups**.
2. Click the group you want to work with.
3. In the group's **Members** tab, click **Add Members**.
4. Search for and select users in the modal, then click **Add**.
### Viewing a user's group memberships
To view all the groups that a user is a member of, use the [**Groups tab** in the user's settings](/administration/users/settings#groups).
### Removing users from groups
When a user is removed from a group, they lose any [permissions that were granted through that group](#assigning-permissions-to-groups). Users can be re-added as group members if needed.
1. Navigate to **Settings > Groups**.
2. Click the group you want to work with.
3. In the group's **Members** tab, locate the user you want to remove.
4. Click **Remove from group**.
## Assigning permissions to groups
Access to connections, models, and content can be granted to an entire user group at once. Connection roles are assigned per-connection in the connection's settings, while content access is granted by sharing documents and folders directly with the group.
### Assigning connection roles
1. Navigate to **Settings > Connections** and open the connection you want to work with.
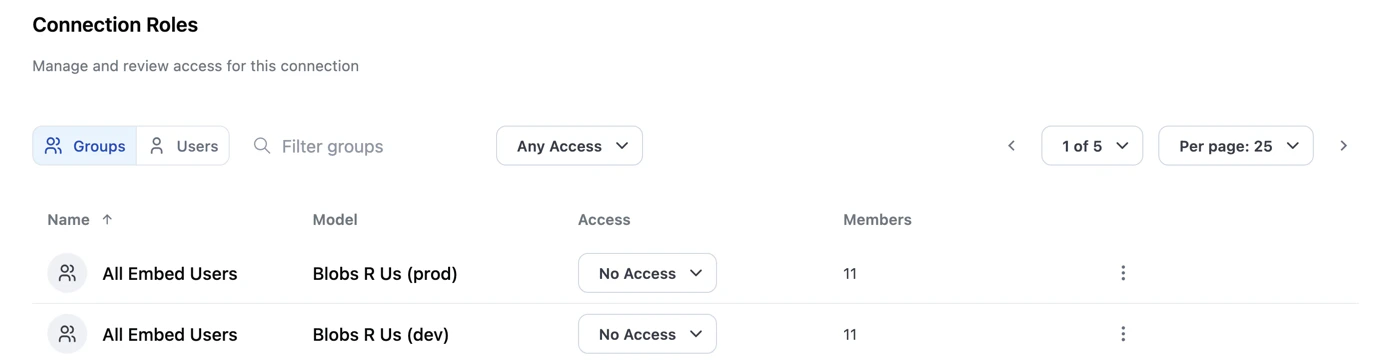
2. Click the **Permissions** tab and scroll to **Connection Roles**.
3. In the **Groups** view, locate the group you want to grant permissions to.
4. Use the **Access** dropdown to change the group's role. If [custom roles](/administration/users/custom-roles) are defined, they will display as options in the dropdown.
## Creating user groups
User groups can also be created through the [API](/api/user-groups/create-user-group) and some [SCIM integrations](/administration/authentication).
1. Navigate to **Settings > Groups**.
2. Click **New Group**.
3. Enter a **Name** for the group. You can also add a description.
4. Click **Save** to create the group.
After the group is created, you'll be redirected to the group's **Members** tab where you can [add users](#adding-users-to-groups).
## Managing group members
Users can be added to and removed from groups manually, through the [API](/api/user-groups) or some [SCIM integrations](/administration/authentication).
### Adding users to groups
A user's group membership is also available as the `omni_user_groups` [user attribute](/administration/users/attributes#default-system-user-attributes), which can be used for data-level permissioning.
1. Navigate to **Settings > Groups**.
2. Click the group you want to work with.
3. In the group's **Members** tab, click **Add Members**.
4. Search for and select users in the modal, then click **Add**.
### Viewing a user's group memberships
To view all the groups that a user is a member of, use the [**Groups tab** in the user's settings](/administration/users/settings#groups).
### Removing users from groups
When a user is removed from a group, they lose any [permissions that were granted through that group](#assigning-permissions-to-groups). Users can be re-added as group members if needed.
1. Navigate to **Settings > Groups**.
2. Click the group you want to work with.
3. In the group's **Members** tab, locate the user you want to remove.
4. Click **Remove from group**.
## Assigning permissions to groups
Access to connections, models, and content can be granted to an entire user group at once. Connection roles are assigned per-connection in the connection's settings, while content access is granted by sharing documents and folders directly with the group.
### Assigning connection roles
1. Navigate to **Settings > Connections** and open the connection you want to work with.
2. Click the **Permissions** tab and scroll to **Connection Roles**.
3. In the **Groups** view, locate the group you want to grant permissions to.
4. Use the **Access** dropdown to change the group's role. If [custom roles](/administration/users/custom-roles) are defined, they will display as options in the dropdown.
 ### Assigning content roles
To grant access to documents and folders, share the content with the group. See [Content sharing](/share#users-and-user-groups) for details.
## Deleting user groups
Deleting a user group is not reversible. Group members will lose any connection roles and content access that were granted through the group.
1. Navigate to **Settings > Groups**.
2. Click the icon in the user group's row.
3. When prompted, click **Yes, Delete** to confirm.
You can also delete a group by opening its **Settings** tab and clicking the **Delete** button.
## Next steps
* [Custom roles](/administration/users/custom-roles) - Define custom role variations to assign to groups
* [Content sharing](/share) - Learn how to share documents and folders with users and groups
* [Permissions](/administration/users/permissions) - Understand how connection roles and permissions work
### Assigning content roles
To grant access to documents and folders, share the content with the group. See [Content sharing](/share#users-and-user-groups) for details.
## Deleting user groups
Deleting a user group is not reversible. Group members will lose any connection roles and content access that were granted through the group.
1. Navigate to **Settings > Groups**.
2. Click the icon in the user group's row.
3. When prompted, click **Yes, Delete** to confirm.
You can also delete a group by opening its **Settings** tab and clicking the **Delete** button.
## Next steps
* [Custom roles](/administration/users/custom-roles) - Define custom role variations to assign to groups
* [Content sharing](/share) - Learn how to share documents and folders with users and groups
* [Permissions](/administration/users/permissions) - Understand how connection roles and permissions work